The Best Hydration Pack for Endurance Gravel Racing
Is a hydration pack the right call for your next race?
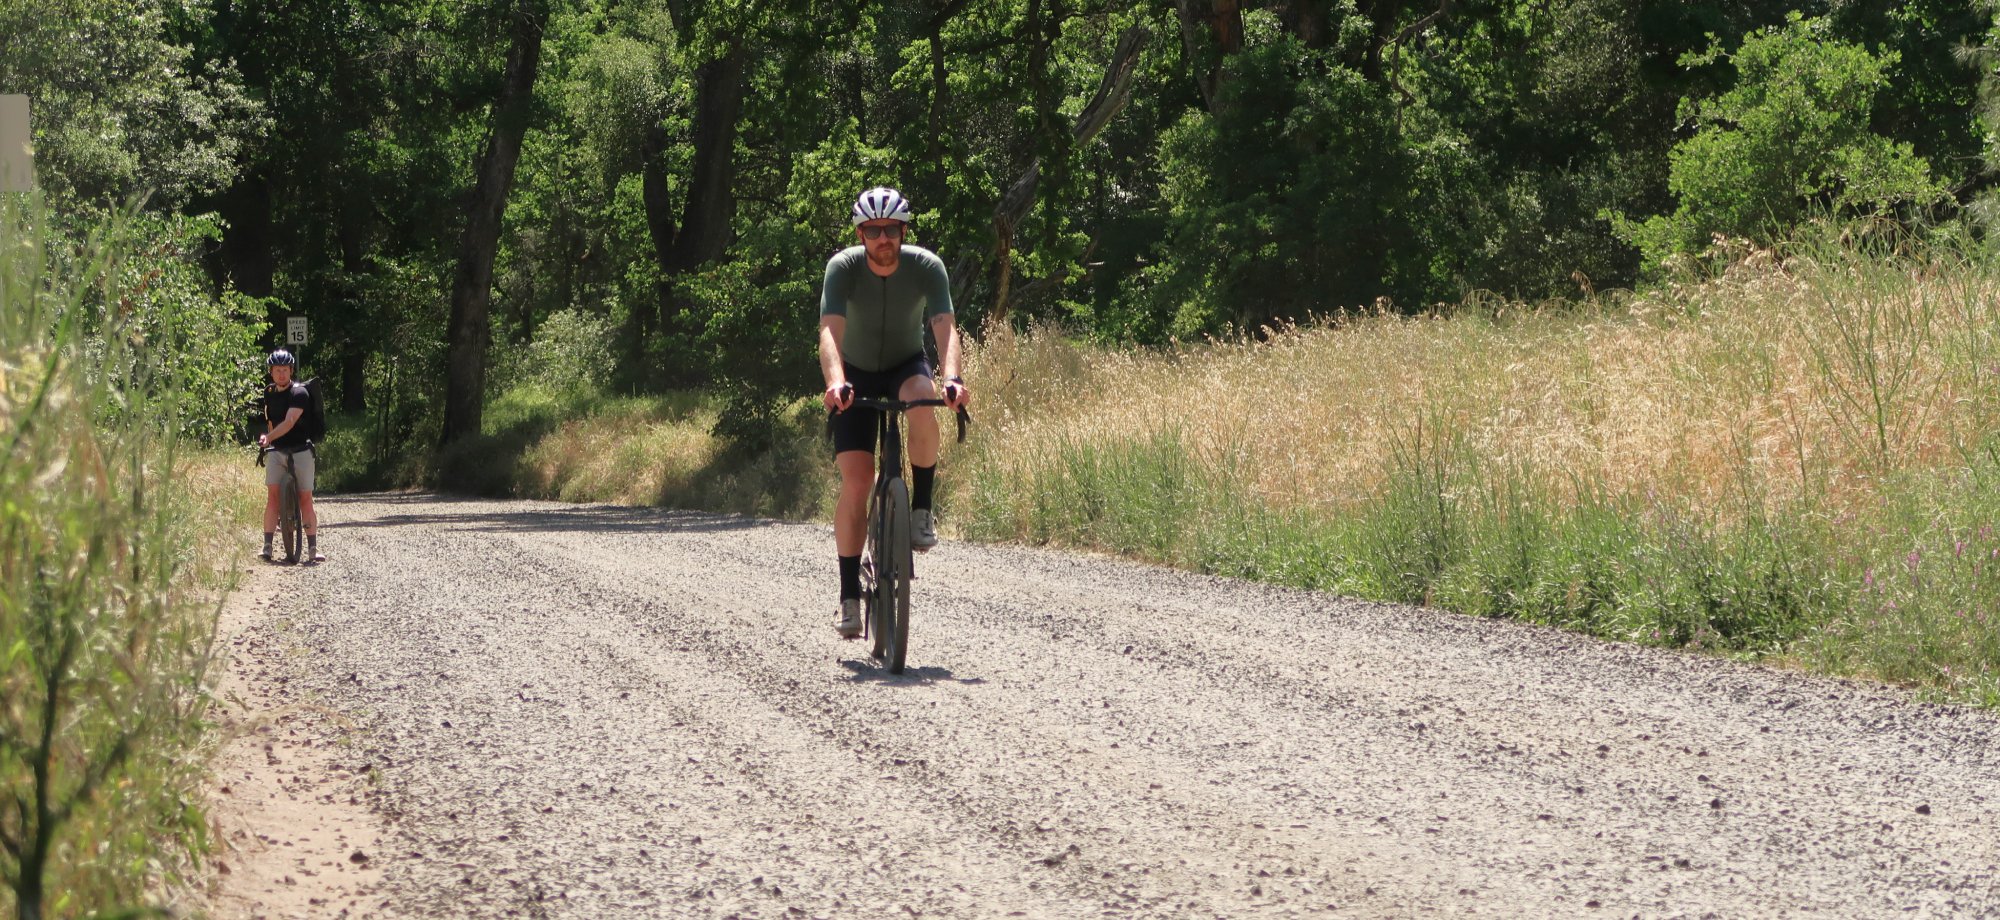
Gravel riding and racing in many ways is nothing new. For years, people have been riding hardtail MTB’s and Cyclocross bikes for off-road adventures. Shoot, riding road bikes and custom fabricated “clunkers” on unpaved surfaces was what birthed the mountain bike. More recently, gravel riding and racing has become its own distinct category. It seems every brand offers a gravel bike, gravel shoes, even gravel water bottles. Most of these gravel products are hybrids of mountain biking equipment and road biking equipment – think XC racing gear meets road riding gear. Dedicated gravel equipment works very well but, depending on whether you race, tour, or just explore, you may find different products that are better suited for each subclass.
Racing vs Riding vs Bikepacking
This article focuses on gravel racing. Why the specificity? Gravel is such a new dedicated category that it can still be a very ‘grey’ term to many people. Are you kitted out in spandex, racing the Unbound 200, attempting to ride it as quickly as possible? Or, is your idea of gravel getting off of paved surfaces and away from traffic for an adventurous ride exploring the backwoods? Or, are you looking to spend the night and do some camping? If you answered “yes” to the first question and you’re looking to do a gravel race, this review is for you.
Why Use a Hydration Pack?
You may have heard the debate in gravel racing over allowing aerobars. It’s a unique circumstance as it’s a mass start event and aerobars are typically reserved for solo events like time trials, triathlon, FKT’s, RAAM, and the like. The discussion around hydration packs is a similar one. I think much of the debate is influenced by an aesthetic expectation or the “integrity” of the sport. Aside from the smallest frames, almost all modern bikes easily carry 2 water bottles – giving the racer up to 52oz (using something common like a Specialized 26oz bottle) or just over 1.5L of water capacity. Many gravel races have aid stations and bottles are very easy to refill. And who wants to carry a pack? They bounce, they don’t let your back breathe as well, and they are in the way if you want to add or remove a layer. So why hydration pack?
Pros:
- More capacity – a 2L reservoir is equal to about 2.5 standard 26oz bike bottles. And if you carry bottles on the frame in addition to a 2L hydration pack, your carrying capacity is about 4.5 bottles worth of water.
- Hydration hose bite valves stay “cleaner” than bottle nozzle – dust and dirt tend to stick to wet bottle nozzles.
- A hose from your water bladder attached to your pack strap is much easier to access than a bottle on the frame. This is important if the terrain is especially bumpy or the race is “on.”
- Bottles tend to eject from bottle cages on hard-charging, bumpy descents on rigid gravel bikes. If you lose a bottle or two, you still have water.
- Slow and steady wins the race – more water on board means more skipped aid stations so you can ride consistently and not ruin your tempo. Aid station stops can be slow, short-stocked, crowded, and hectic.
- Self-reliant – it’s all too often that aid stations are out of resources, or they are not stationed at the mile marker they were billed at, or your hydration plan may not align with the aid stations. For example, you planned to take aid at the mile 80 station but run out of water at mile 70.
With a 2L reservoir on your back and two 26oz bottles on the bike, you’re carrying about 3.5L. This is equal to about 4.5x 26oz Specialized bottles. Pending the temperature and your own hydration needs, it’s commonly recommended that racers drink one 26oz bottle per hour. With a hydration pack and 2 bottles, you can go 4.5 hours without running out of water. That’s a lot of skipped aid stations!
Cons:
- More weight onboard – 1 liter of water weighs roughly 2.2 pounds so a 2L reservoir equals 4.4 pounds in water weight + the weight of the pack and reservoir itself. In the case of a USWE MTB Hydro, the pack is 429g, so roughly another pound.
- Bounces, discomfort, irritation, and general annoyance – If you aren’t used to a pack on while riding, it takes some getting used to and adjustment to get it to fit well. But even then, it will never be the same as not wearing one at all.
- Breathability – With something on your back, sweat doesn’t have as much of a place to go.
- More challenging to add or remove layers of clothing
- Can impede access to jersey pockets
- Aerodynamic drag – big packs stick up in the wind, especially when you are in a low riding position.
Depending on the day and the course, the pros can outweigh the cons. This is especially true if you use the RIGHT hydration pack. Some of the best packs out there reduce or mitigate many of the cons of a hydration pack.
The Ultimate Hydration Pack – Features
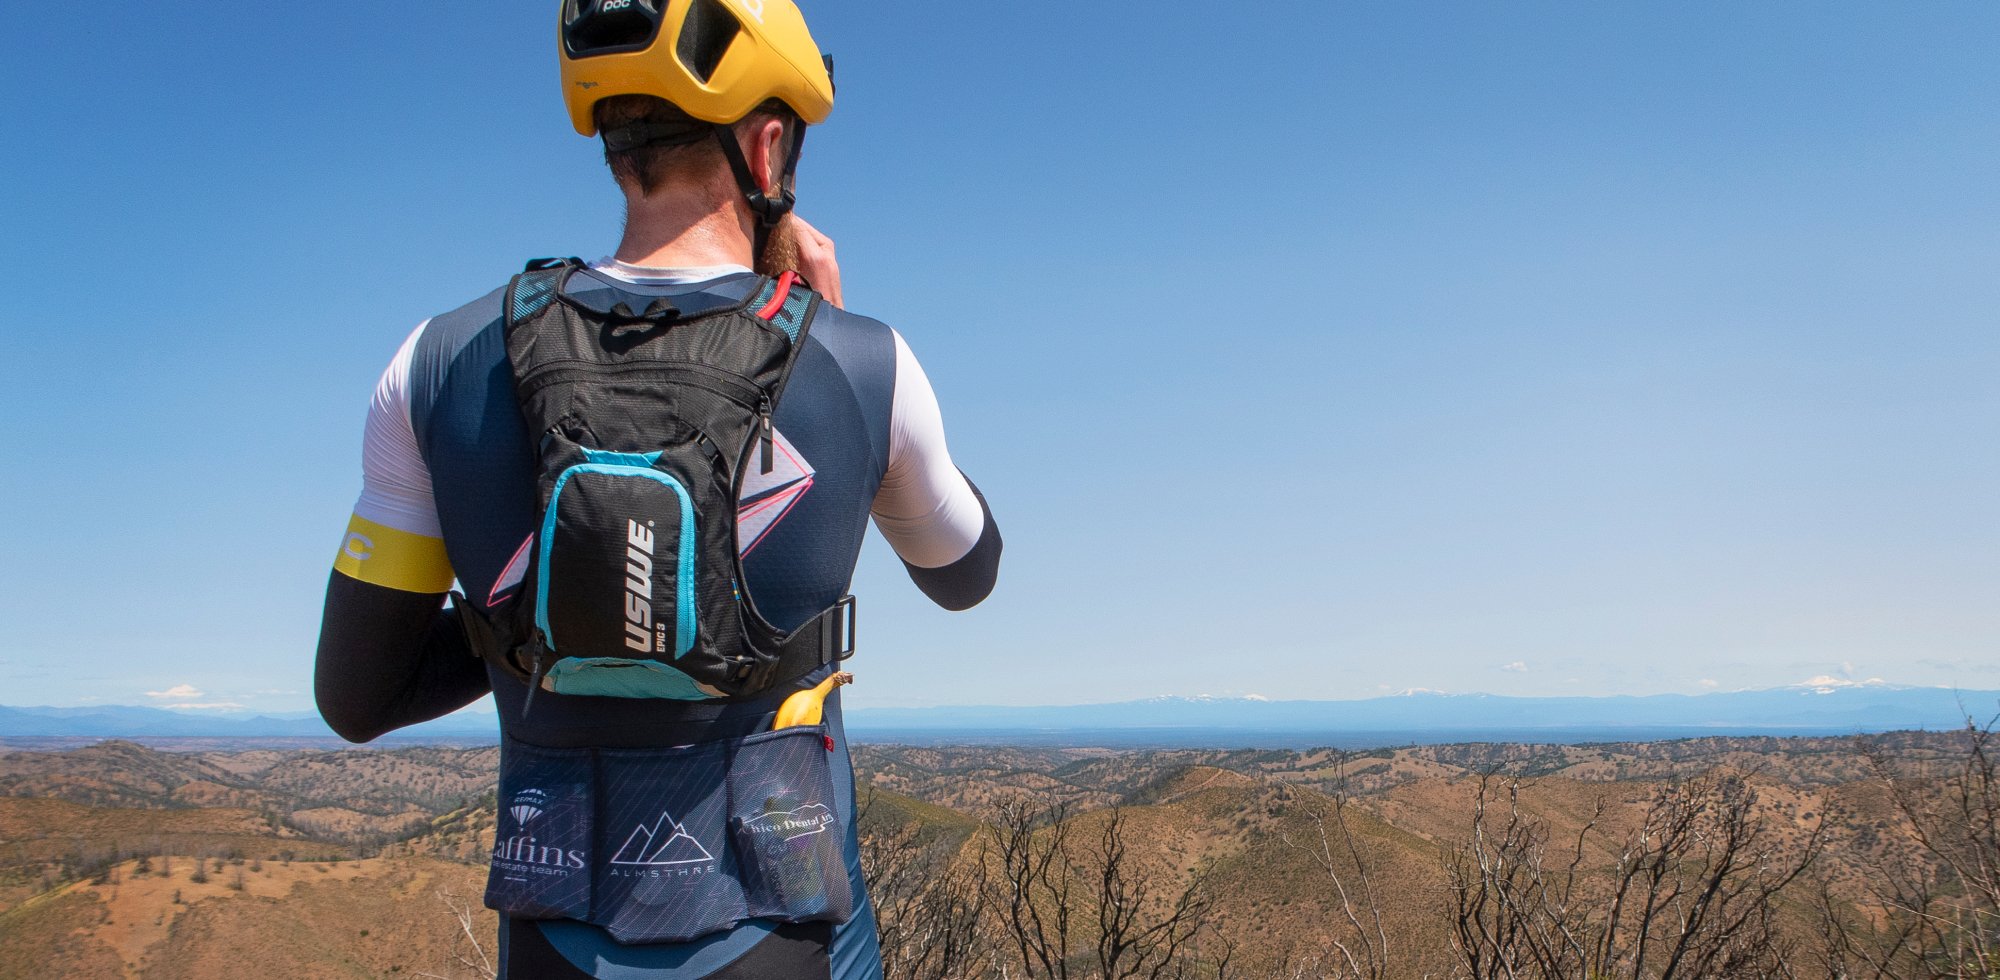
I had the opportunity to test the USWE MTB Hydro 3L (formerly known as the ‘Epic’) Hydration Pack on a course recon mission and on the day of the Wild West Gravel Grinder’s ‘Extra Grit 125’ race. My experience was so positive that I chose to use the pack for the Lost and Found 100 Gravel Grinder as well. The 3L label in the title is in reference to the total carrying capacity of the pack. This capacity is adjustable with a 4 buckle, removable 1L “pocket.” On our course recon, I carried the full 3L pack with the removable pocket to stash some extra goodies as we were headed, unsupported, into the mountains. This was perfect for a spare layer, some extra tools, and a bite of food. On the day of the race, knowing it was supported and had aid stations, I ditched the removable pocket and kept it to the essentials. The pack also includes a 2L Hydrapak bladder.
Volume and Capacity
This reservoir is nice with a coupled hose that is easy to remove/install for cleaning and drying. I’m always in favor of less-is-more when it comes to racing – the less I must think about, or fiddle with, the better. In that fashion, the MTB Hydro has a single, zippered compartment. This main pocket is designed primarily for the hydration reservoir itself. Inside the compartment is a simple, internal zippered pocket that has a key clip and was just big enough to squeeze a large iPhone in, even with a full reservoir of water. Again, if you are on an unsupported ride and want your pack to carry more than just water plus your phone/keys, the 1L removable zipper pocket can be installed with 4, easy-to-use, secure, buckles. The buckles are tucked cleanly behind the tough pack body fabric which not only looks nice but also protects them in case you were to have a wreck. If you are purely going to use the pack for racing, you might want an even simpler and lighter option. USWE also makes 2L volume packs that don’t have this pocket. This series of USWE pack is called the Outlander. Aside from the weight savings and minimalist, race-focus nature of the Outlander, there is another reason that you might choose the MTB Hydro over the Outlander for racing that we'll talk about below.
Fit
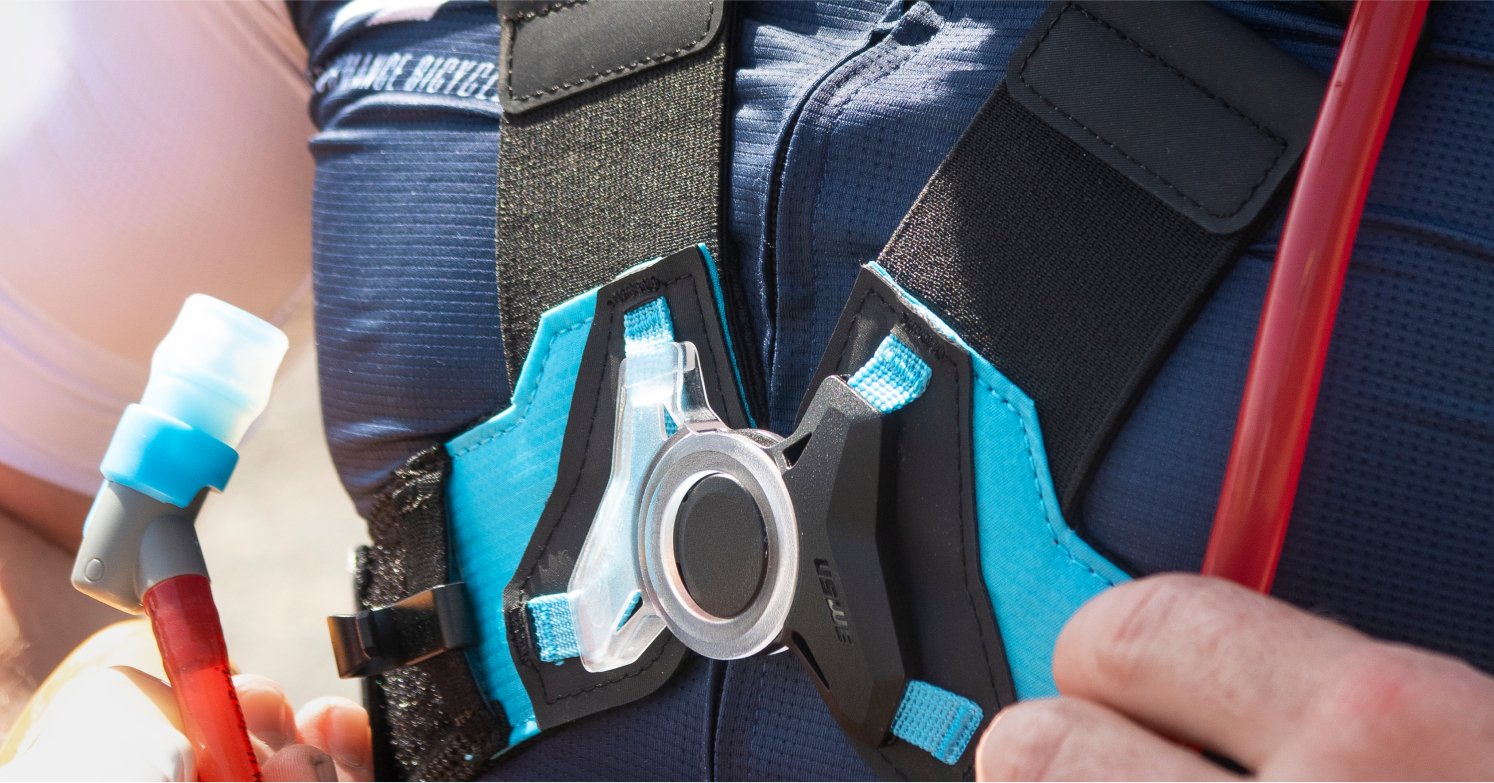
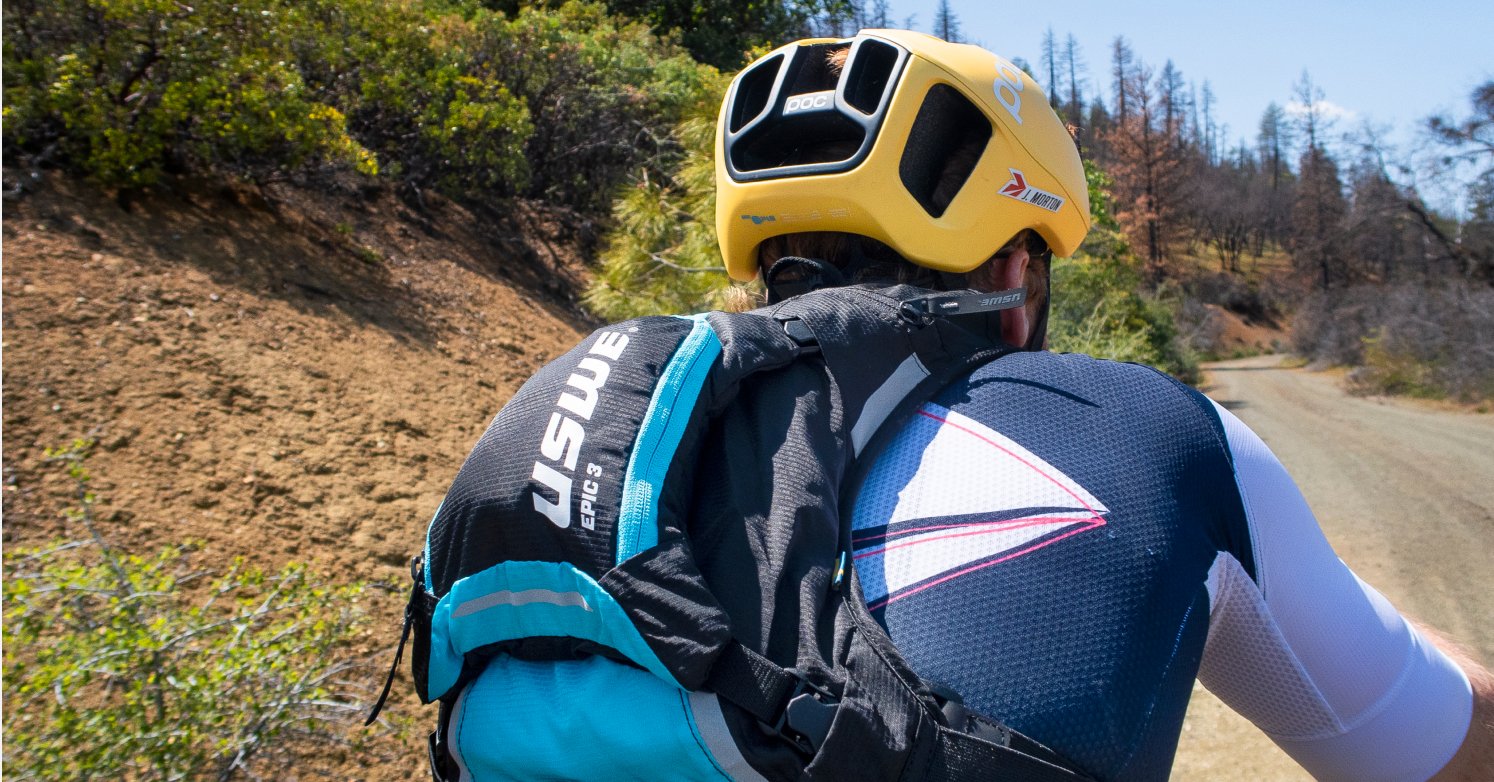
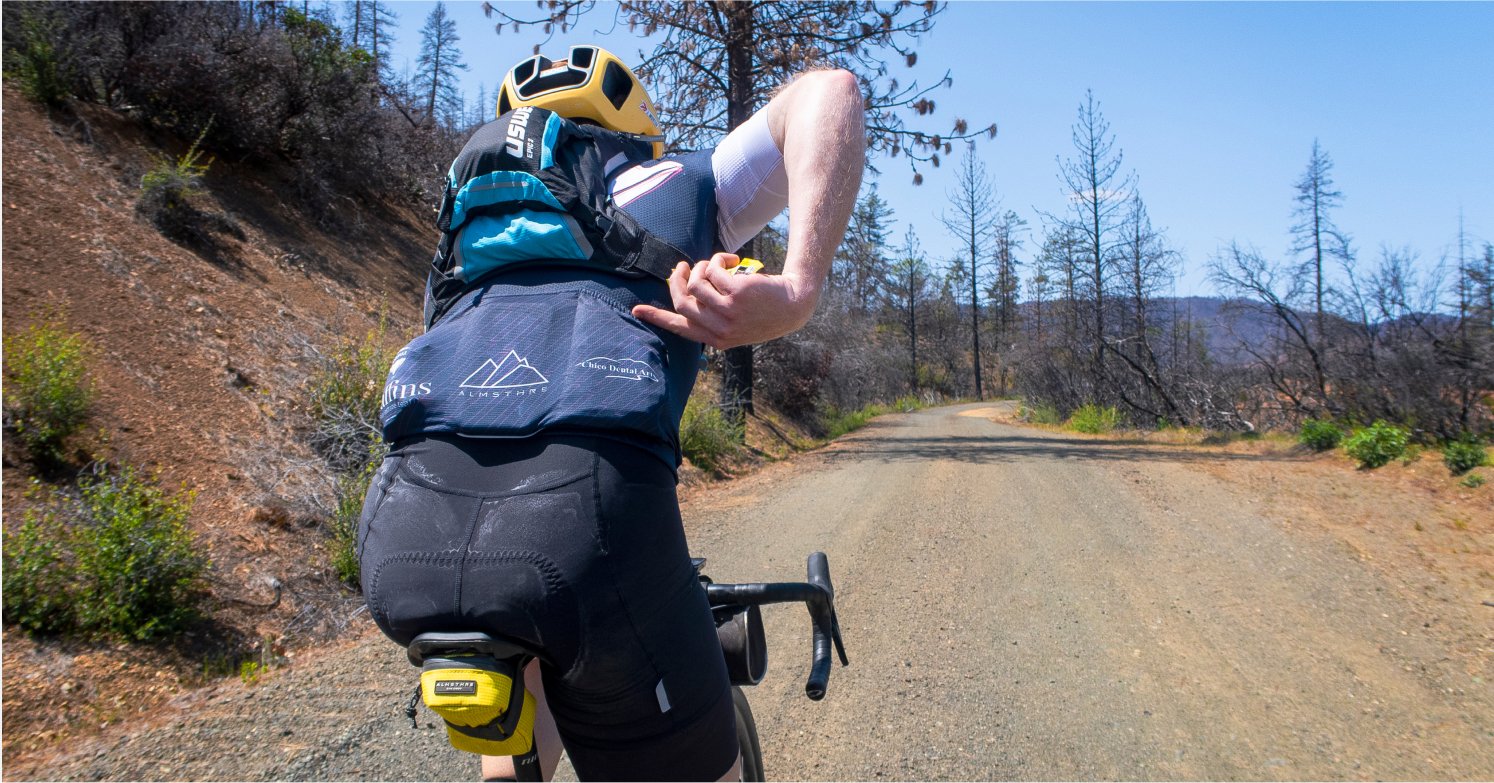
USWE riding packs all use some version of the NDM (No Dancing Monkey) harness system. Instead of the traditional two shoulder straps with webbing adjusters and a sternum webbing strap and a hip strap to secure the pack in place - the four strap pieces act more like two straps that meet at a central buckle. The straps adjust for fit with Velcro and double back on themselves. This makes for an incredibly secure fit with a single buckle to fiddle with, no straps tucked in behind your back after putting the pack on, and no excess webbing flapping around. Clean and simple. Adjustments can be made on the fly, but it’s pretty set-it-and-forget-it. USWE does provide a size guide and sizing videos which are worth looking at. The pack also sits very high on the back. This reduces the bounce, fits comfortably in a lower, racing position, and allows easy access to jersey pockets. This is a huge plus that is rare amongst hydration packs.
Breathability
A standout features of the MTB Hydro, that the Outlander series lacks, is the air-vented back panel with wave-profile pads that create lots of channels for air to pass through and keeps your back much cooler. This is a welcome feature, especially if the race is hot. The Outlander Pro does have more breathable shoulder straps but ditches the shoulder padding. This seems, however, to be motivated by weight savings over breathability. I’m in favor of having greater breathability on my back where the pack covers more surface area and doesn’t directly face moving air to keep you cool and dry. Also, the MTB Hydro shoulder straps ARE a breathable mesh.
Putting it on and taking it off
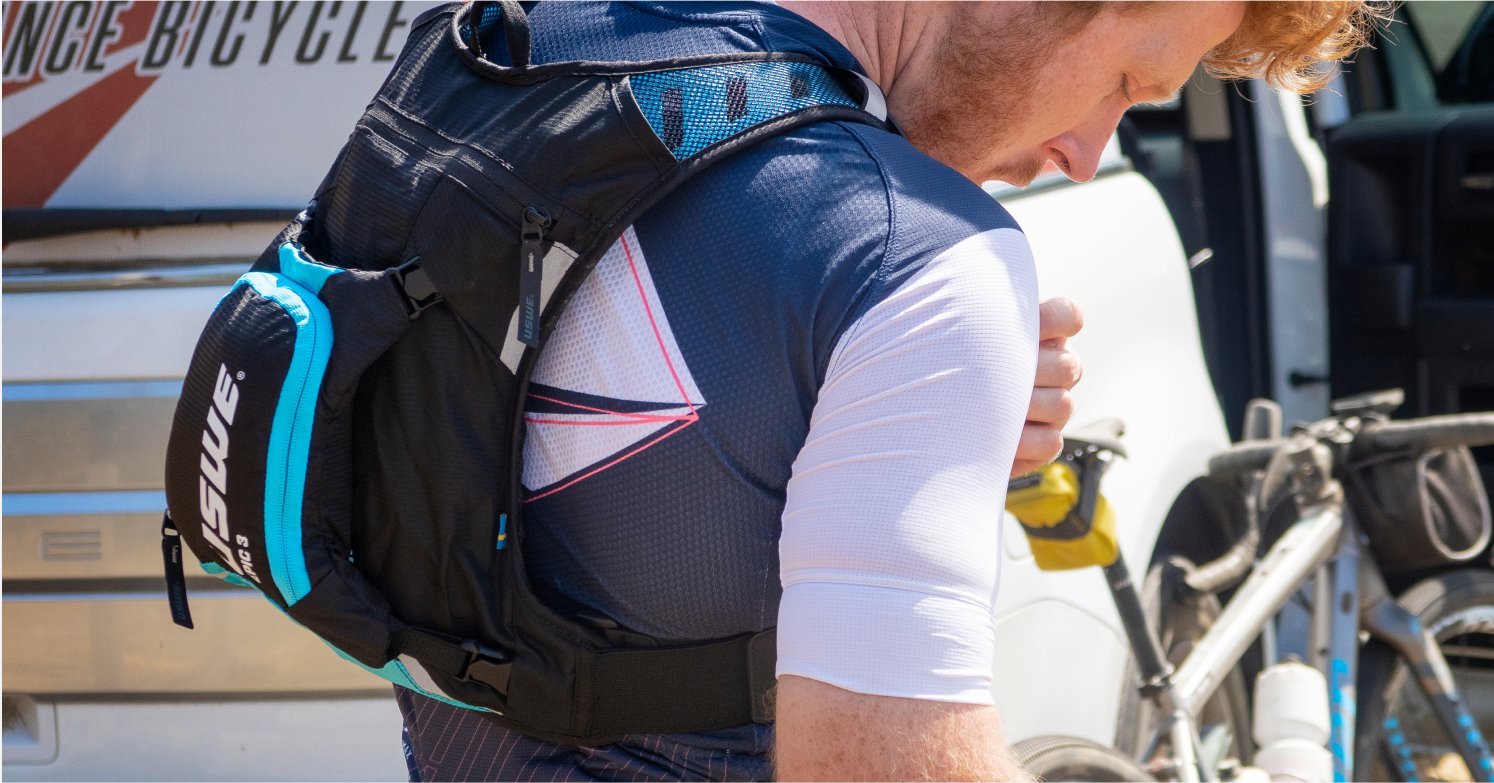
If you need to get the pack off in a hurry, say, to ditch or put on a jacket, the MTB Hydro is still a backpack and needs to be removed. But instead of two buckles pinched, you have a single button that you just press and is very easy to find. This is great if your hands are cold and numb. As far as packs go, removal is as easy as it gets. When putting the pack on, the central buckle and angles of the straps create very large openings that are easy to slip an arm through and don’t require opening the strap up to put it on. The most difficult part is closing the buckle. It takes two hands and some attentive alignment. It really isn’t tough but it’s different from a traditional buckle. Once on, I’ve never had to play with the strap tension after the initial setup. Usually, with a pack, I put it on and play with the webbing adjustments for the shoulder straps, the sternum strap, and the hips belts straps. This design is so easy to use and keeps the fit right.
Weight and Overall Profile
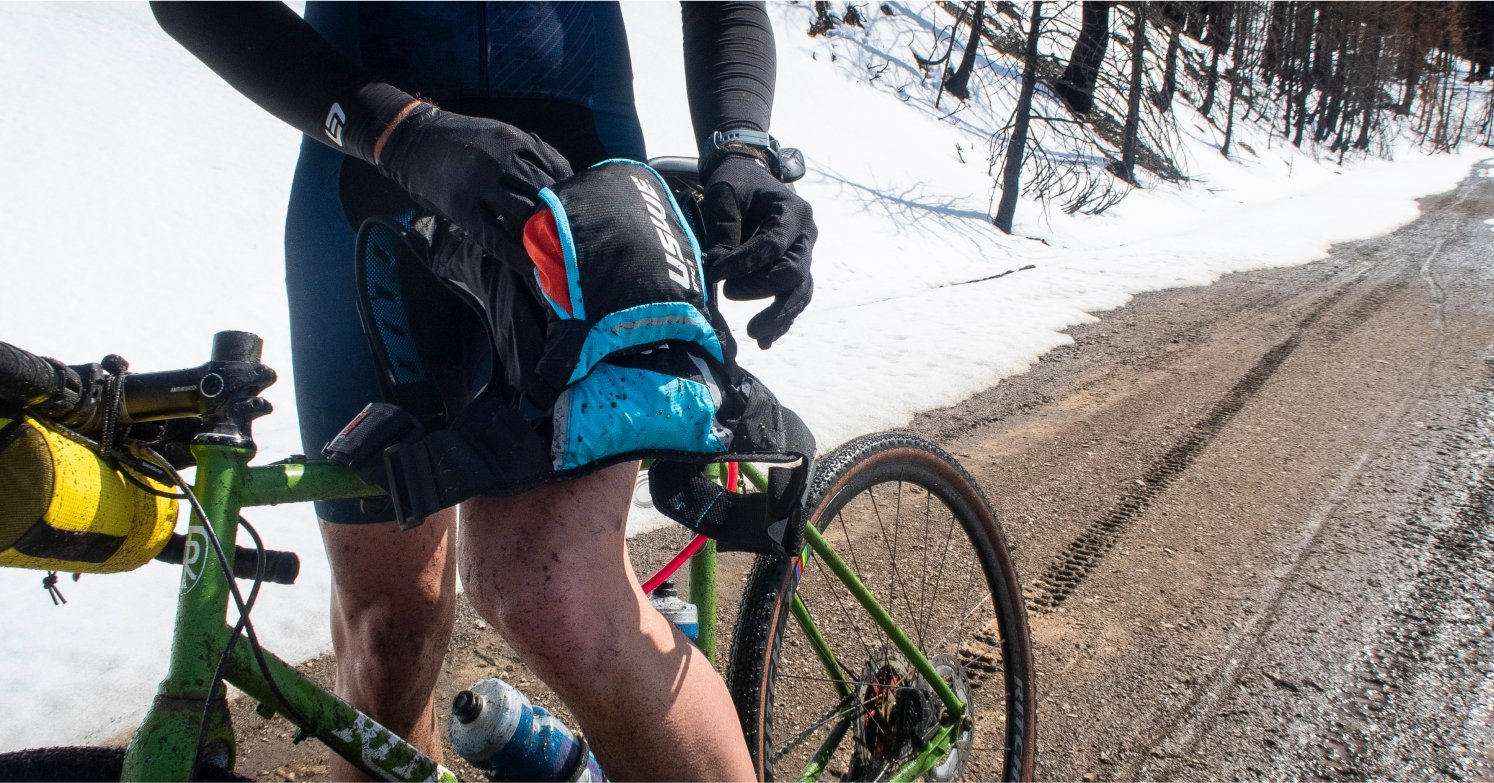
The pack itself is light, tough, and minimal. At 429g (without a bladder) it’s under a pound. The bladder and hose add another 141g. That’s 570g total. Remove the external multi-pocket, and you drop 70g putting total gear weight at 500g or 1.1lbs. That’s a nominal addition of weight for so much extra water capacity. Historically, hydration packs have been too feature-rich, in my opinion. There are pockets in pockets in pockets. It’s easy to lose items and I never seemed to know what all the compartments were designed for. Lots of pockets and capacity encourage riders to fill them up with stuff. That stuff is weight (and weight on your back, not the bike). Because this pack is so minimal and focused on just carrying water it also has an incredibly small profile. On the start line of Lost and Found, I wore my MTB Hydro and a down jacket over the pack to keep warm. I can’t think of a pack I’ve ever used that could fit comfortably under a jacket. This pack is sleek and slim which helps make it much more aerodynamic.
Quality and Fabric
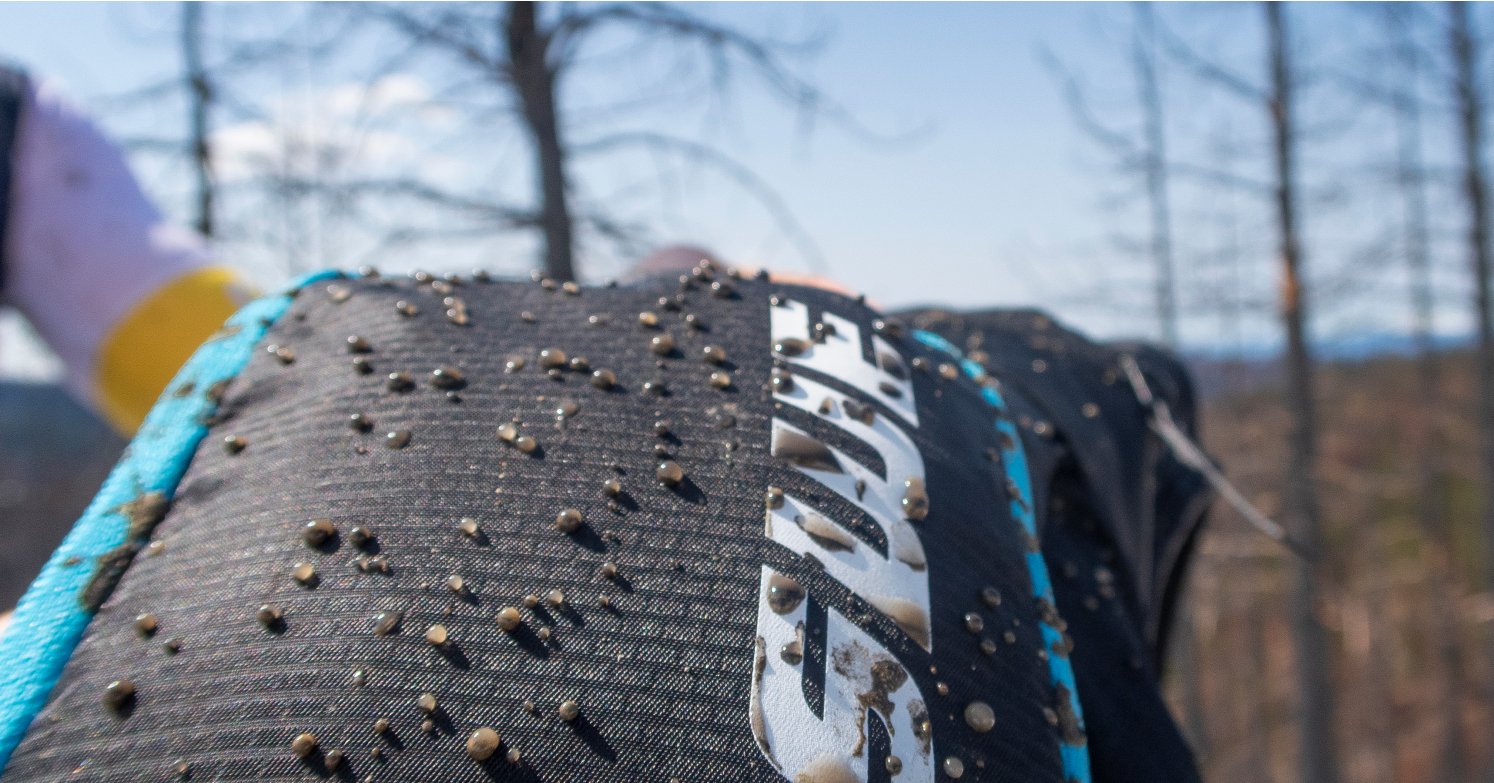
The fabric had water beading up and running off. USWE doesn’t claim water resistance, but the fabric must naturally have some as I noticed that while riding through snowpack and puddles, water beaded up and ran off the main pack body fabric. I wouldn’t expect it to keep the contents dry in a downpour, but for puddles, creek crossings, and snow melt—all common in many gravel events—the pack will not get saturated or waterlogged. I’m certain this could be bolstered with a Durable Water Repellant treatment like Nikwax or Grangers. I haven’t taken a spill with the pack, but I have smashed through some brush and branches and have not put a hole in it. The fabric feels very rugged to the touch. This is not minimalist, ultra-lightweight, or delicate fabric.
Final Thoughts
How much water you carry, and your hydration strategy is up to you, but what I can say is that stopping for aid is slow and, on a long day, consistency is critical. Carrying all your own water and nutrition will cost you a significant weight penalty early on in your race day, but it reduces variables like ejected bottles, chaotic or slow aid stations, and unnecessary stops. Eliminating variables is the name of the game on longer races, as is consistency. The right pack makes this a real possibility. Check out the MTB Hydro from the USWE pack line up.
Related Articles:
THE BELGIAN OTTER TOUR
After competing at BWR, we packed up our gear and rode over 500 miles to the Sea Otter Classic bike festival.
Watch Video
